
For Beginners
For Experts
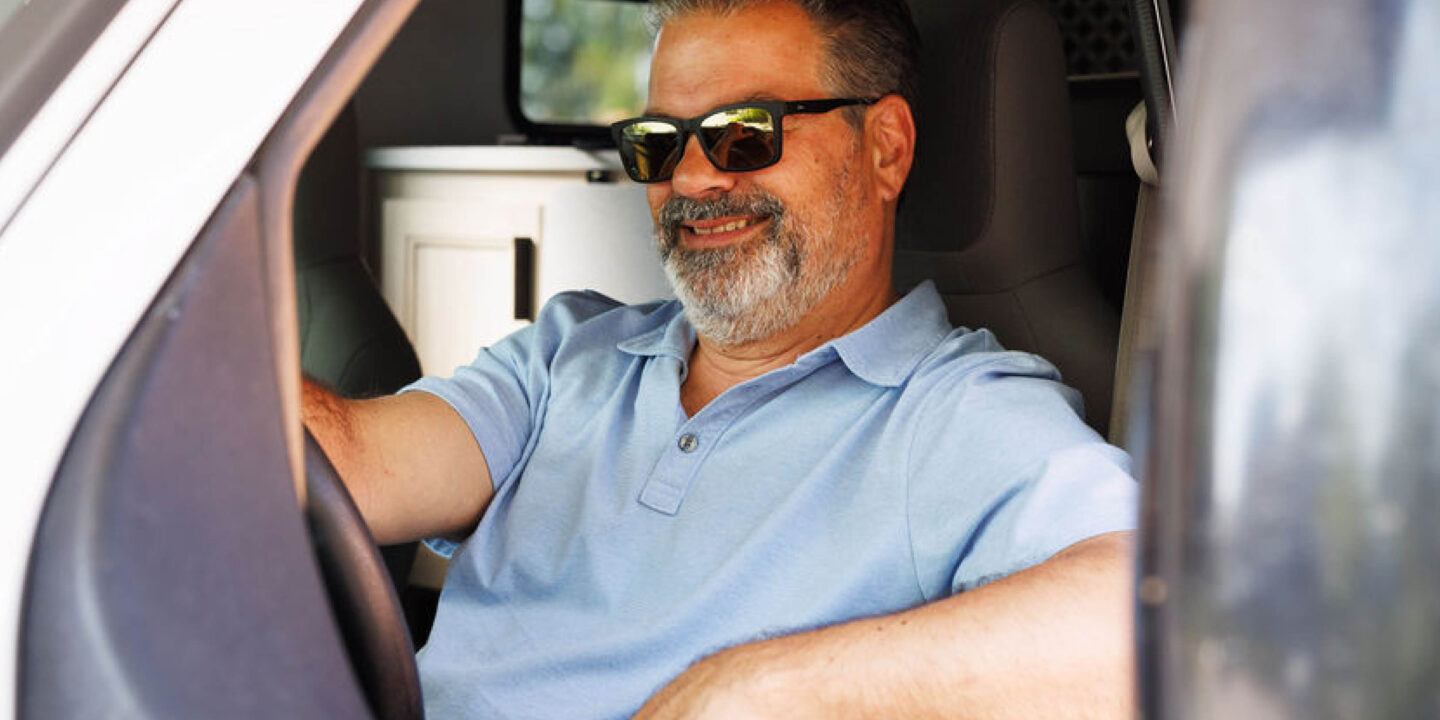
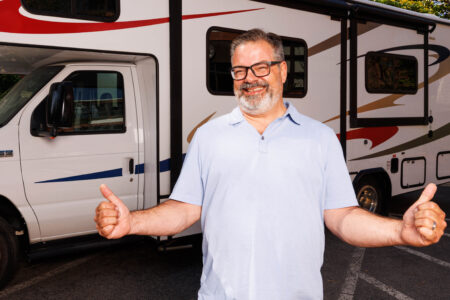
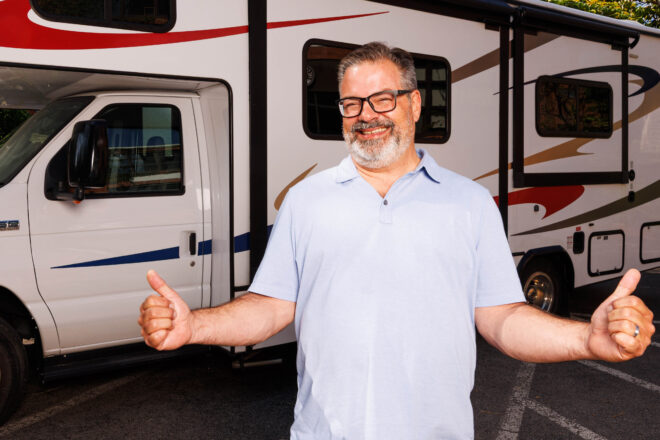
For more than two decades, I’ve been surrounded by RV’s on television in my role as Randy on The Trailer Park Boys. But I’m going to let you in on a secret: I had never actually been RVing before.
And let me tell you, spending time in a fictional RV park is nothing like the real deal. When I first started planning, I was constantly typing questions into my phone asking, “What do I need to know if I’ve never been RVing before?” But when I finally went on my first RV trip, I realized how much I’d been overthinking it.
So, If you’re stressed about looking like an amateur out there, here are my quick tips for rookie RVer’s.
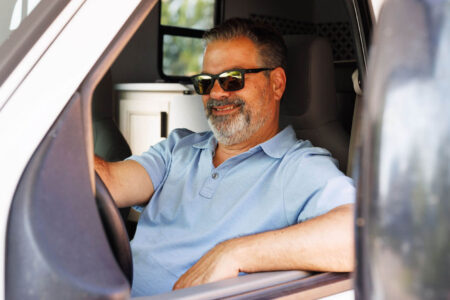
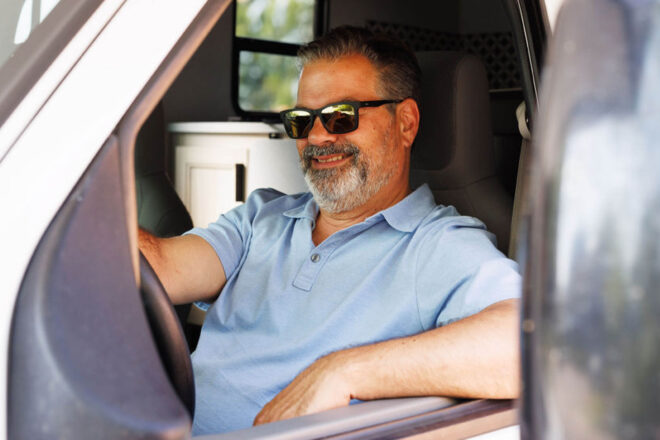
No way. I was a bit anxious just to get behind the wheel, not to mention learning about all the buttons and dials. The reality? We picked up our rental, and the team at the Owasco RV dealership gave us a complete, step-by-step walkthrough. They showed us every button, hose, and switch until we felt totally comfortable for our first RV trip. They do this for every single person who rents an RV—so no, I wasn’t getting special celebrity treatment.
We were flying in to visit our family on this trip, and I thought that I’d have to hit a department store to buy pots, pans, blankets, and pillows for the week. Turns out, when you rent a rig, you can get it fully loaded. When we walked inside, the bedding was plush, the kitchen was packed, and the whole unit was completely ready to rock.
It is an absolute dream to travel across Canada without ever having to lug heavy suitcases in and out of hotels or live out of a plastic duffel bag. But don’t make my usual mistake of overpacking. When you’re living the RV lifestyle, you don’t need a massive wardrobe. One of everything does the trick, and it keeps your space clutter-free.
I learned a major lesson about awnings on our first RV trip. It rained a ton, and having that awning extended was a lifesaver—it gave us a dry outdoor living room to sit in the fresh air and keep the grill going. But here’s the golden rule: the second the winds start picking up, or before you leave your campsite for a hike, roll that awning back in. You do not want a rogue Canadian wind gust turning your awning into a kite.
If something goes wrong, don’t sit there guessing. For most of the folks in the campsites around you, it’s definitely not their first rodeo. If you’re stuck, just walk over, ask a campground neighbour for a hand, and crack a beer with them—they’ll usually have you sorted out in five minutes. If it’s a technical head-scratcher, just call your dealership. When we couldn’t figure out a quick detail with the water system, we just gave Owasco RV a shout. They walked us through it on the phone in two minutes flat.
Traveling with toddlers can usually stress you right out, but the RV completely changed that. We brought our baby niece along we had a blast. Having your own kitchen, a clean bathroom, temperature control for nap time, and hot water for baths made camping with a toddler a breeze.
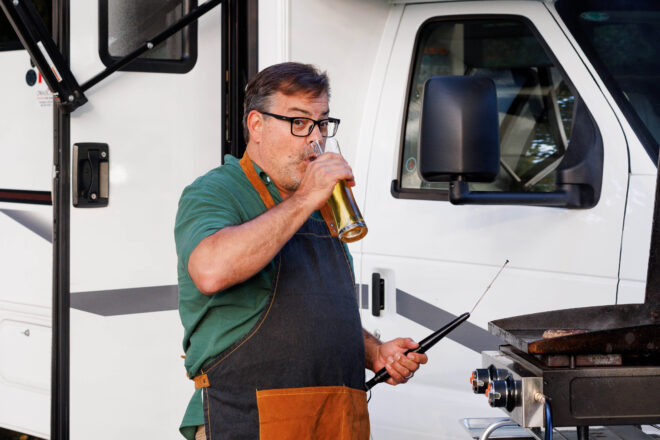
I love to cook but trying to feed five people out of a soggy cooler while tent camping is enough to make anyone snap. But cooking with the RV was a dream. We had a full-sized fridge, tons of counter space inside to prep, and washing the dishes afterward was easy. I whipped up a massive batch of my burgers on this trip and it felt just like being in a home kitchen, only with a way better view. Check out my cheeseburger recipe here.
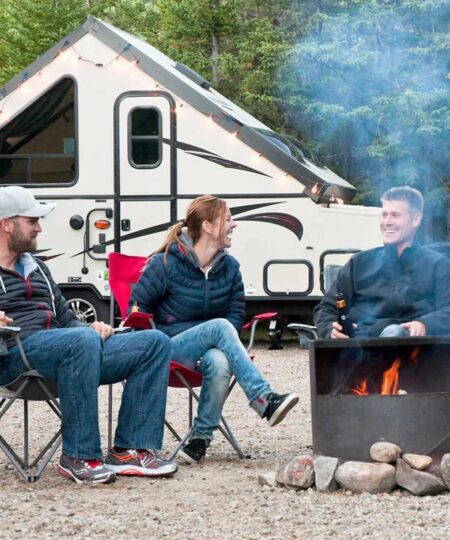
Stop saying you’ll do it “next year.” Renting a rig is the easiest way to just pack up and go without a ‘master plan’. Trust me, the second you’re sitting by the campfire with your family, you’ll be wondering why you didn’t do this years ago. If you’re looking to rent for the first time, you can use Go RVing Canada’s Find a Dealer tool to find a rental near you.