
Birding 101: How to Start Birdwatching (And Why an RV is Your Ultimate Mobile Basecamp)
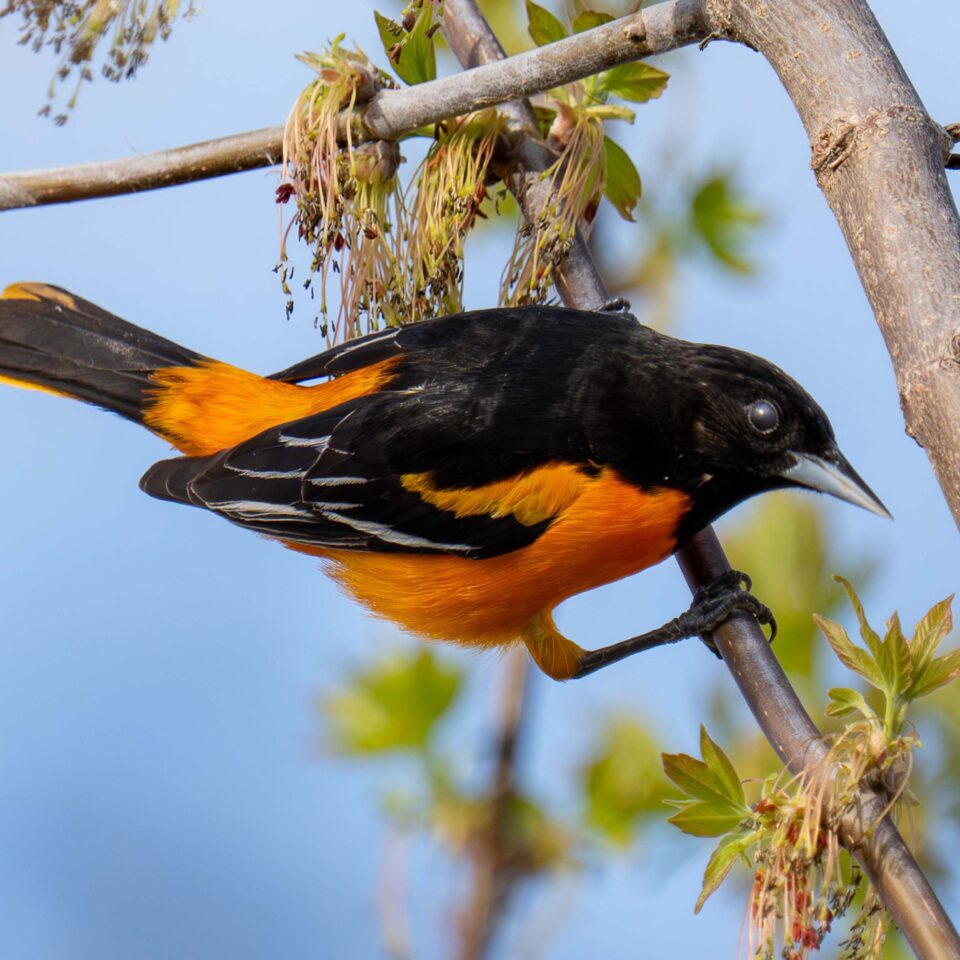
Birdwatching is one of the fastest-growing outdoor activities in North America, and getting started is way easier than most people think. You do not need a degree in ornithology or thousands of dollars in camera equipment to enjoy nature. All you need is an eye for detail, a basic pair of binoculars or a camera, and a willingness to explore local habitats.
However, many beginner birders hit an early barrier: timing. Songbirds and waterfowl are most active during the first two hours of daylight. Waking up at 4:00 AM to drive from home or hotel on my big birding trips quickly wore me down.
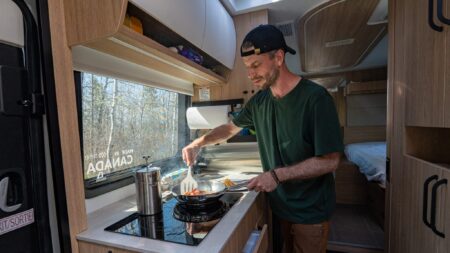
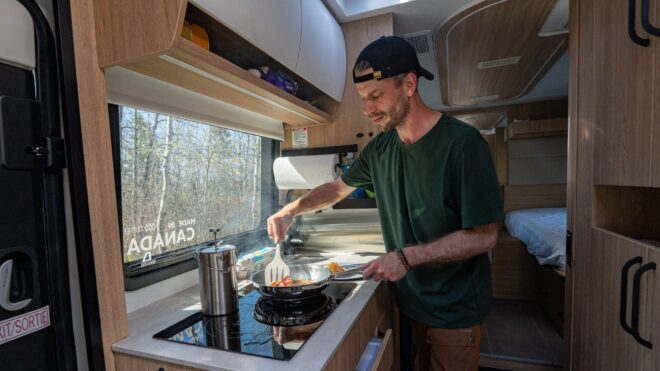
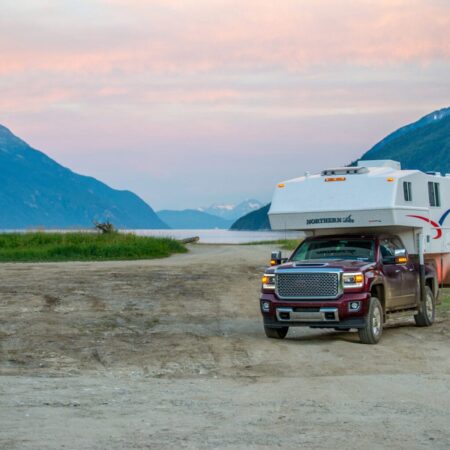
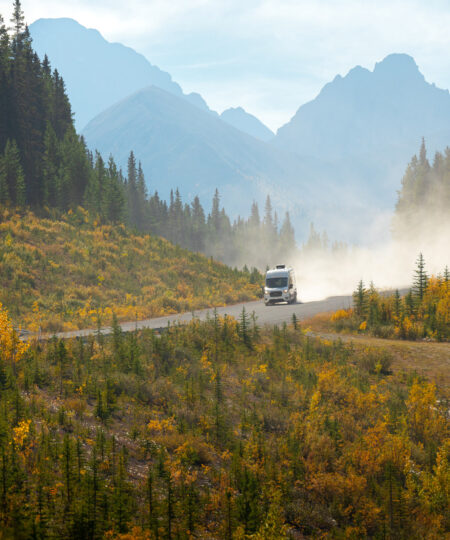
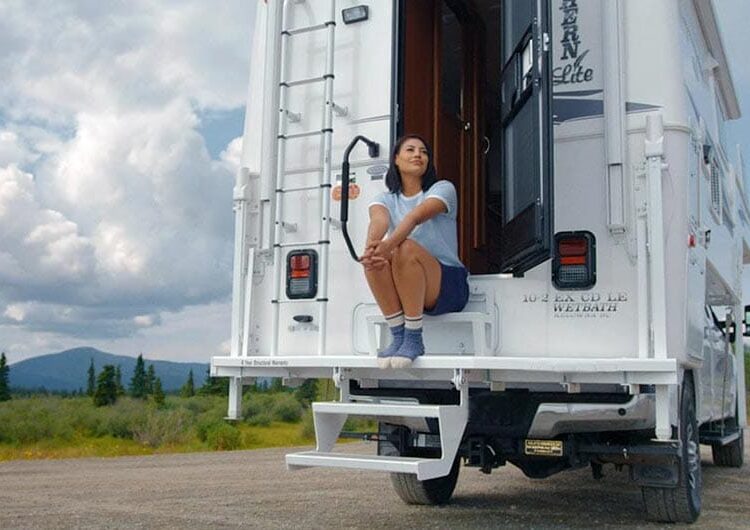
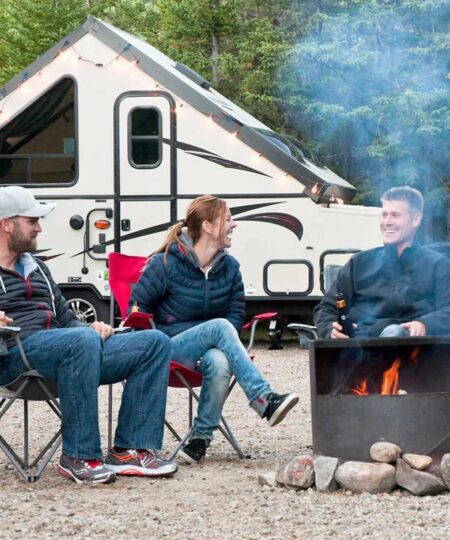
This is where combining birdwatching with RV travel changes everything. An RV is not just a vehicle; it is a functional field basecamp. Parking directly at a campground, provincial park or wildlife management area allows you to wake up inside the habitat, step outside with a hot coffee, and catch peak bird activity right from your door.
So if you’re wondering how to start birdwatching, this guide covers my tips on the essential gear, identification techniques, photography basics, and travel setups you need to start birding today.
How to Start Birdwatching: The Starter Kit
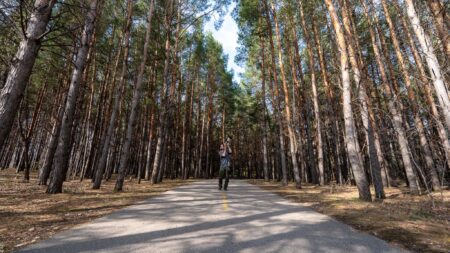
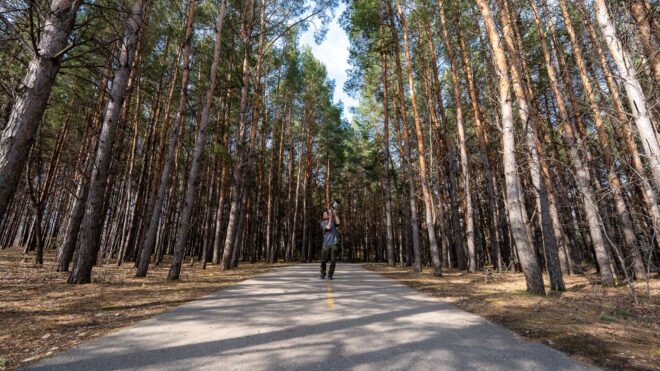
When you are starting out, do not overwhelm yourself with gear. Focus on a few simple tools that make seeing and identifying birds easy.
ESSENTIAL BIRDING GEAR CHECKLIST
- Birding Binoculars: 8×42 waterproof binoculars. The 8 means 8x magnification. The 42 is the width of the front lens in millimeters, which lets in plenty of light during dark early mornings under forest canopy.
- Harness: Carrying binoculars around your neck for hours causes real strain. Spend $30 on an elastic chest harness instead. It distributes the weight across your shoulders and keeps your optics snug against your chest while you walk.
- Beginner Camera Setup: Choose a lightweight superzoom bridge camera (like the Panasonic Lumix FZ80) for built-in zoom, or an entry mirrorless body (like the Canon EOS R50) paired with a 100-400mm lens.
- Field Accessories: Use high-speed SD memory cards to prevent buffer lag during burst shooting, a lightweight monopod to support heavy lenses, and a $15 plastic rain sleeve to protect your camera during sudden spring showers.
- Free Phone ID Apps: Merlin Bird ID & eBird
- Printed Field Book: Helpful for when you are out of cell service range. A physical book never runs out of battery.
- Outdoor Clothing: Wear muted greens, browns, grays, or tans to blend into the trees. Combine that with high-top waterproof hiking boots so you can walk wet morning grass, bog edges, and muddy shorelines comfortably.
How I Identify a Bird in 4 Steps
When a new bird pops onto a branch, you usually have only a few seconds before it flies off. Trying to look at every detail at once will leave you confused. Here is the four-step mental checklist I use in the field:
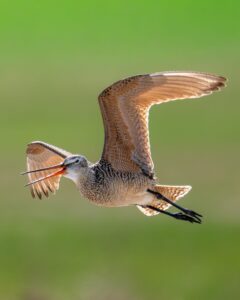
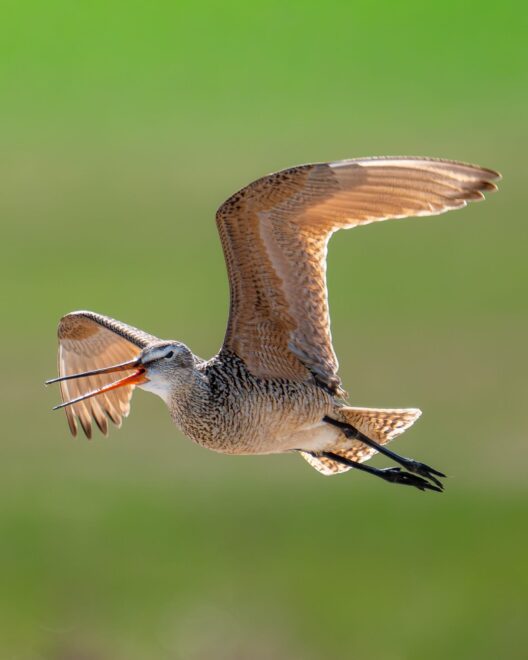
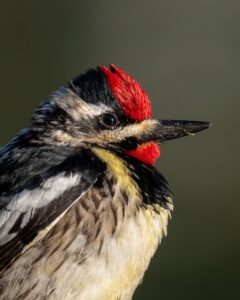
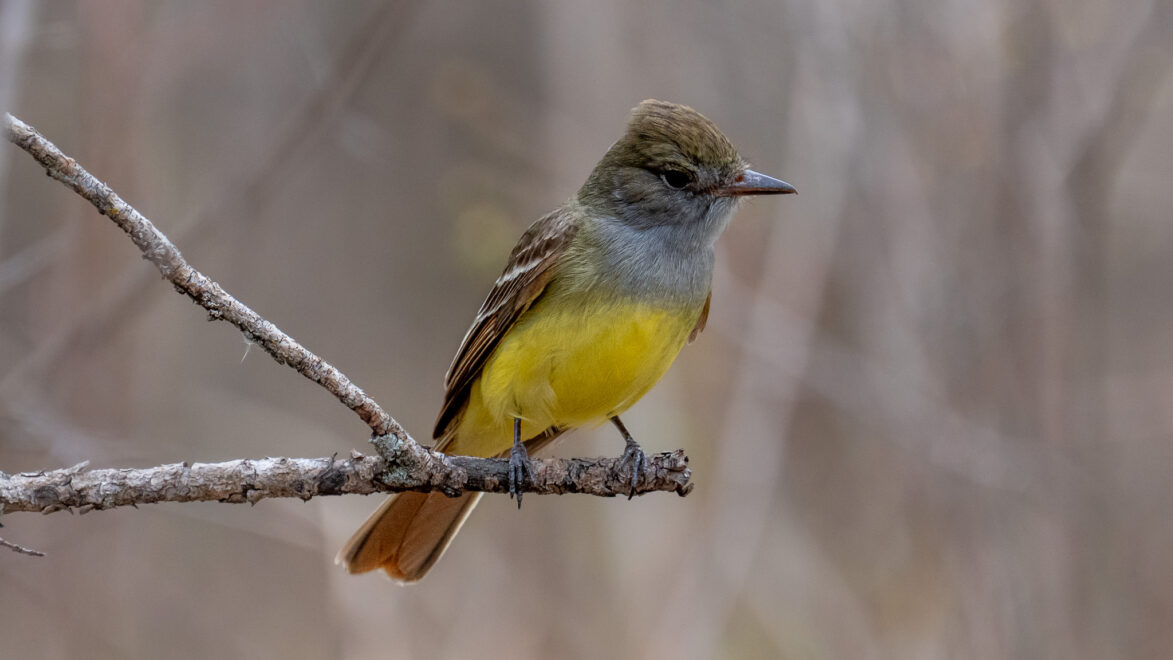
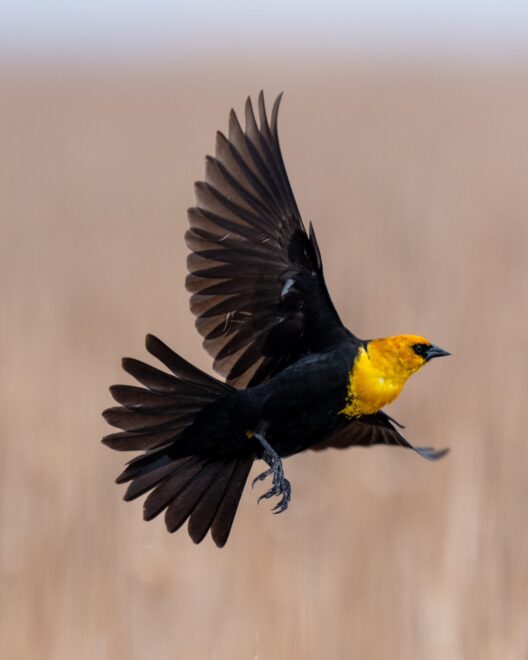
| STEP | WHAT TO CHECK | EXAMPLE |
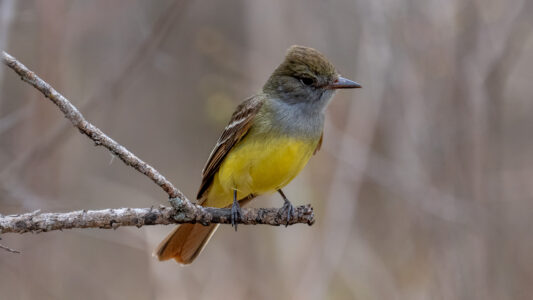
| 1. Size and Shape | Compare it to a common bird you already know (sparrow, robin, crow). | Is it small and round like a chickadee, or slender with a long tail like a jay? |
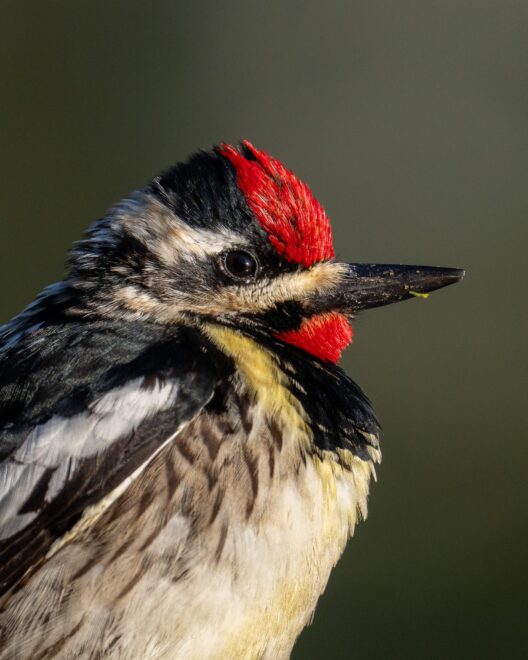
| 2. Colour Patterns | Look for bold markings instead of overall colour. | Does it have eye stripes, wing bars, a brightly coloured crown, or a yellow rump patch? |
| 3. Habitat and Time | Note where you are standing and the season. | Is it swimming in a marsh in May, or foraging in a pine tree in October? |
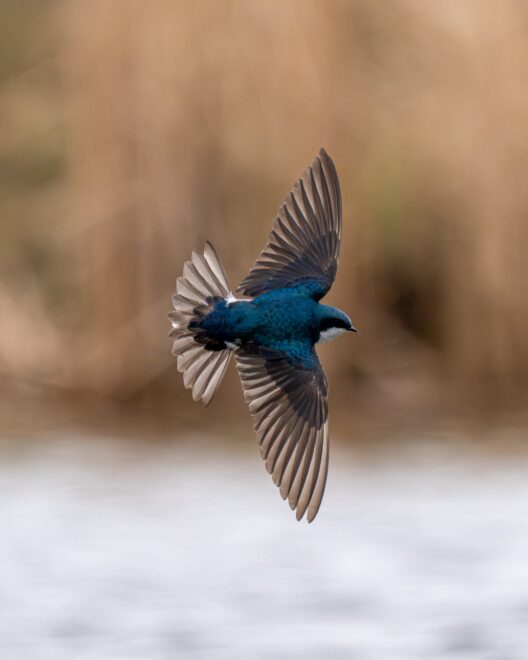
| 4. Behaviour | Watch how it moves through its surroundings. | Is it climbing up a tree trunk, hopping along the ground, or bobbing its tail on a rock? |
My 5 Bird Watching & Bird Photography Tips
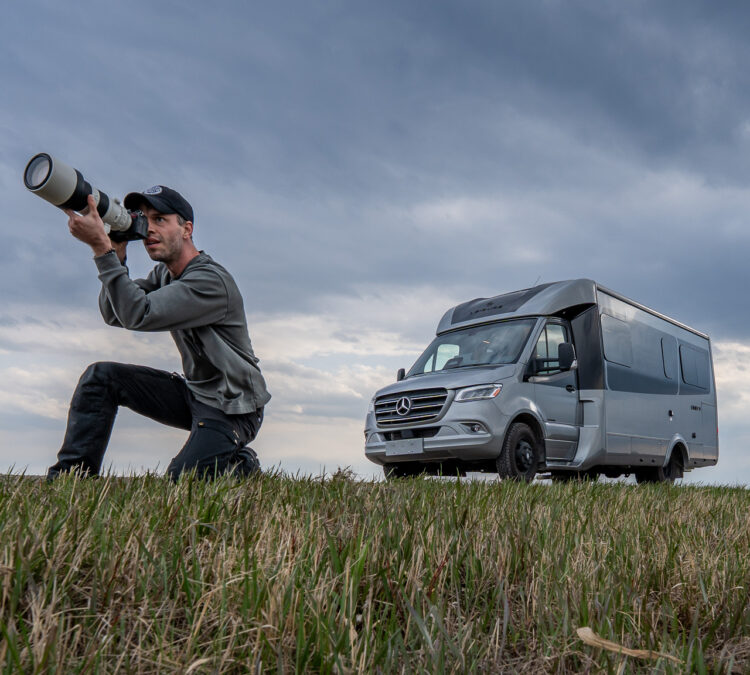
A top-tier camera setup is nice to have, but it will not teach you how a songbird behaves or where a shorebird feeds. The real magic happens through simple habits out on the trail. From years of documenting wildlife, these are my favourite field tips for finding more species and bringing home photos you are proud of:
1. Practice the 2-Hour Rule
Hiking constantly down a trail feels productive, but heavy footsteps alert wildlife and birds long before you see them. Birds naturally freeze or fly away when humans are moving.
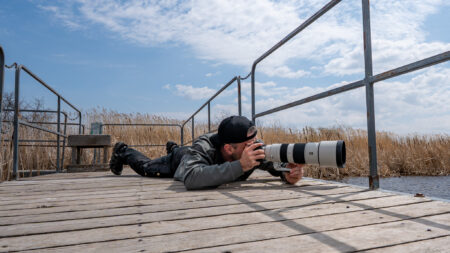
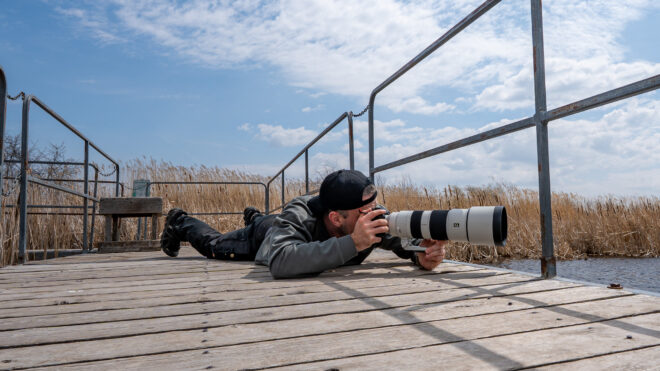
For birders and photographers alike, I recommend the 2-Hour Rule: find a quiet spot with good visibility, set up camp and stay relatively still for about two hours. During the first 20 minutes, the forest will seem quiet as birds process your presence. By the second hour, the entire area relaxes. Birds will treat you as part of the scenery, returning to their normal feeding, preening, and singing behaviour right in front of your camera lens.
2. Target Areas with Multiple Habitats
If you want to maximize your species list and photo variety, pick locations where two or three distinct habitats meet.Instead of visiting a deep forest with only one tree type, choose a park that combines open marshland, mature forest trails, and shoreline within a short walk.
While finding connected habitats along a single walking trail is great, distinct ecosystems inside a large park are often separated by several kilometers. This is where travelling in an RV becomes a massive advantage. You can spend your morning walking a deep boreal forest trail, drive fifteen minutes down the road to a wetland marsh, and finish the afternoon scanning a rocky lake shoreline.
Because your RV holds all your optics, camera gear, extra layers, and food, switching habitats throughout the day is completely seamless. You do not have to drive back to your basecamp to cook a meal (or grab a quick nap after getting up early).
3. Scout First Thing in the Morning (And Shoot Less)
When I head out at first light, I take my camera with me, but I am actually taking far fewer shots than you might expect.
I use my early morning walk as a scouting session. I study where songbirds land to warm themselves in the early sun, which branch a kingfisher prefers for hunting, and where shorebirds feed along the water’s edge. Once I identify their favorite perches and habits, I return to those exact spots later with my tripod already set up. Waiting for a bird on a perch you know it loves yields infinitely better photographs than chasing it through the brush.
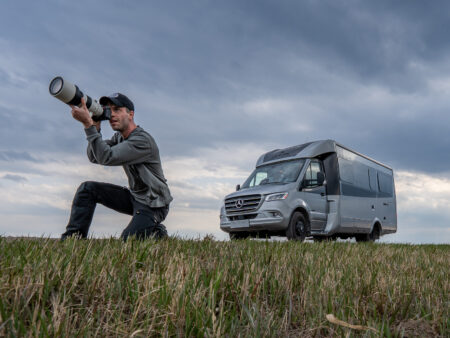
Having an RV parked right inside the park or at a nearby campground makes getting into the field at dawn that much easier. You beat the day-use park crowds entirely. During those quiet early hours, the park is dead silent, and birds are undisturbed, active, and feeding naturally.
4. Look Low and Deep into the Bush
Beginners tend to spend all their time staring straight up into the sky or at the very tops of tall trees.
Unless a bird of prey is hunting or a songbird is singing from an open perch, most birds stay sheltered in middle branches, thick brush piles, or low undergrowth. Train your eyes to scan deep into fallen log piles, berry bushes, and reed edges.
5. Rehearse Bird Calls the Night Before
One habit that took my bird photography to the next level was learning to identify species by sound. Trying to learn bird calls while walking a trail in bright daylight can feel overwhelming.
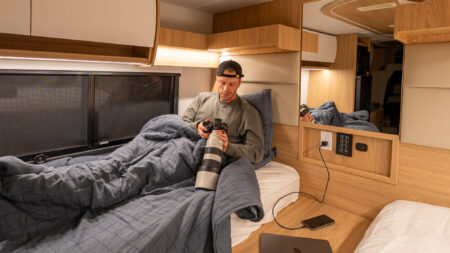
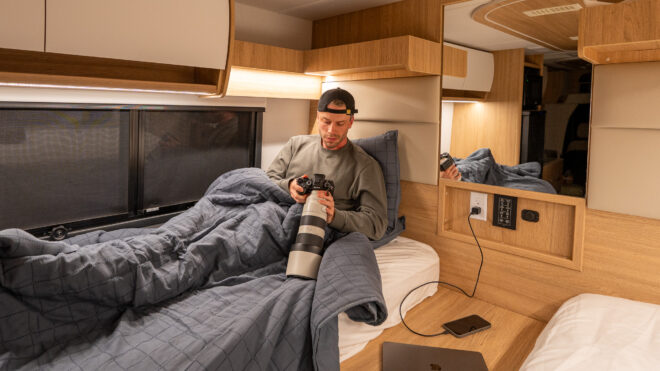
Instead, I use my evenings in the RV to prepare. The night before I explore a new location, I open my birding apps and play the calls of four or five target species over and over while relaxing in bed. Tuning my ears and my brain the night before means that when I hear those exact notes in the canopy the next morning, my ears pick them up instantly. It takes a bit of practice, but once you start doing this, you will be amazed at how quickly your recognition improves.
Frequently Asked Questions
Do I need expensive binoculars to start birdwatching?
Not at all. While high-end optics offer slightly sharper glass, several waterproof 8×42 binoculars in the $150 to $250 range provide bright, crisp images and comfortable eye relief for beginners.
How do I start birdwatching if I have never done it before?
Start in your own backyard or local neighbourhood park. Set up a simple tube feeder or birdbath near a window, and practice identifying the common daily visitors using the free Merlin Bird ID app. Once you recognize your local yard birds, join a free morning walk hosted by a local nature center, provincial park, or regional birding club. Walking with experienced birders is the fastest way to learn bird calls, find hidden perches, and build confidence before taking your skills on an RV road trip.
What is the difference between birdwatching and birding?
People use both terms interchangeably today. Historically, “birdwatching” meant passive observation (like watching a feeder from your window), while “birding” meant actively travelling to wild habitats to find species.
How do I find good birding spots near my campground?
Open the free eBird app on your phone and tap the “Explore” tab. Look for “Hotspots”—public areas marked in red or orange where local birders frequently log high numbers of species.